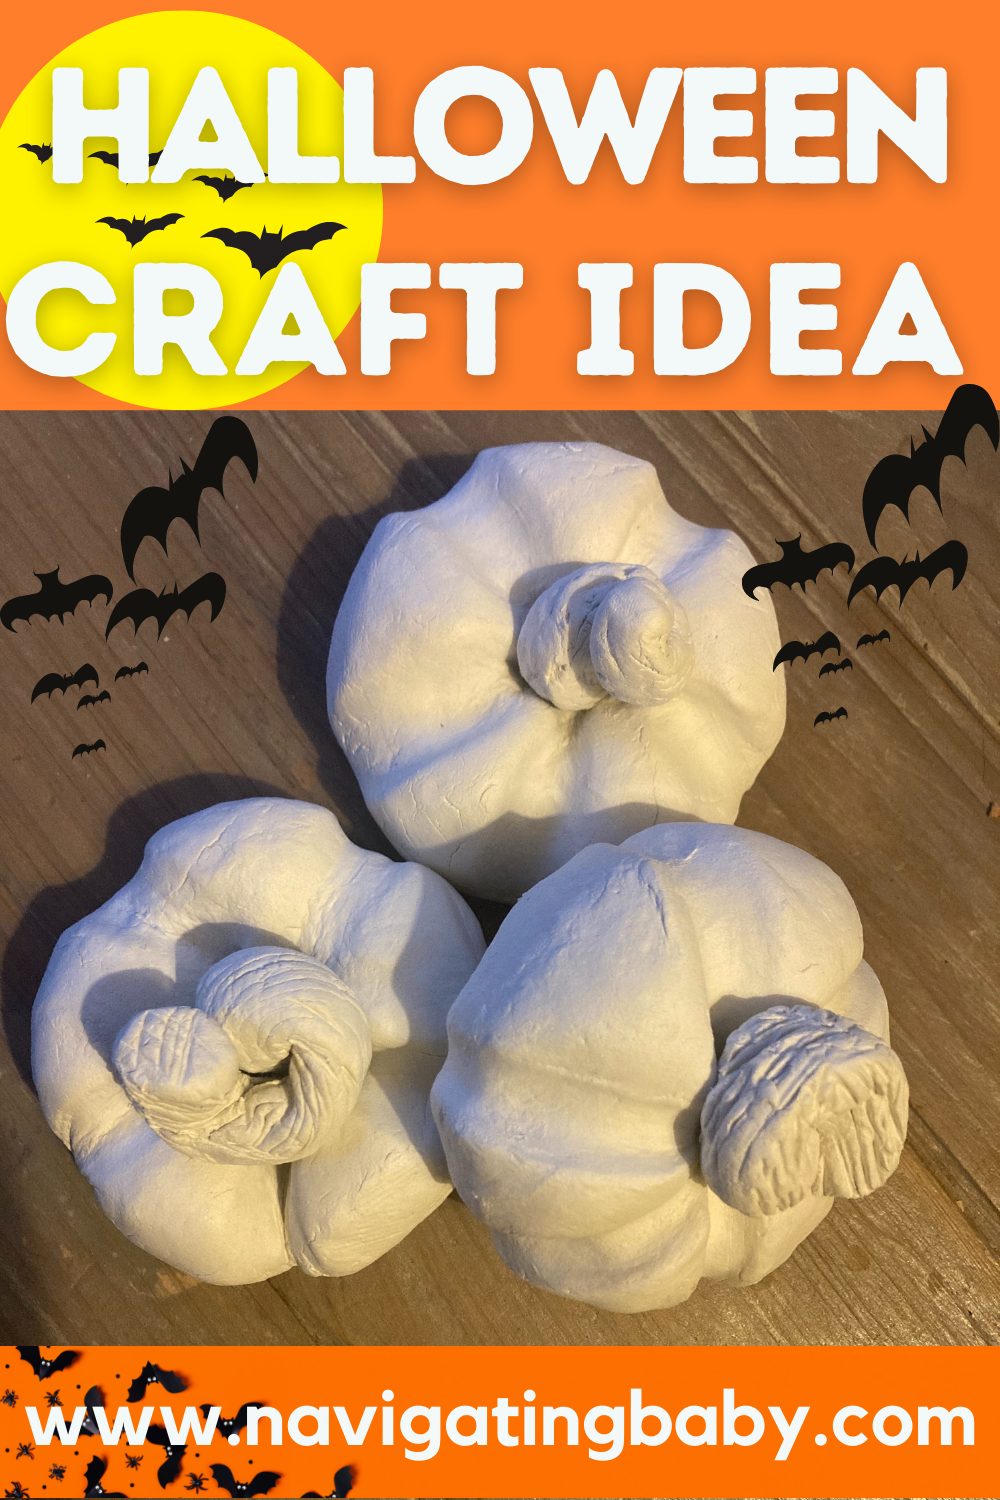
Have you noticed that fake halloween pumpkins are all over instagram and pinterest this year? It is a decorative trend for the home that is big news this year and I can see why they look so lovely. So I thought I would get onto this trend and order some halloween pumpkins for our home, but then I saw the price of most of them and decided that I must be able to make halloween pumpkins from clay and so this post was born. If you want to get that insta trendy halloween pumpkin look for a fraction of the cost and have some fun into the bargain then read on to find out how to make clay halloween pumpkins.
CONTAINS AFFILIATE LINKS
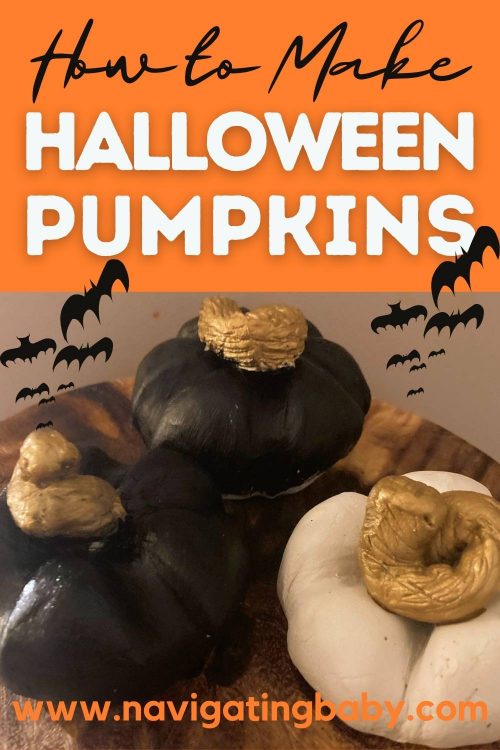
Can children make clay halloween pumpkins?
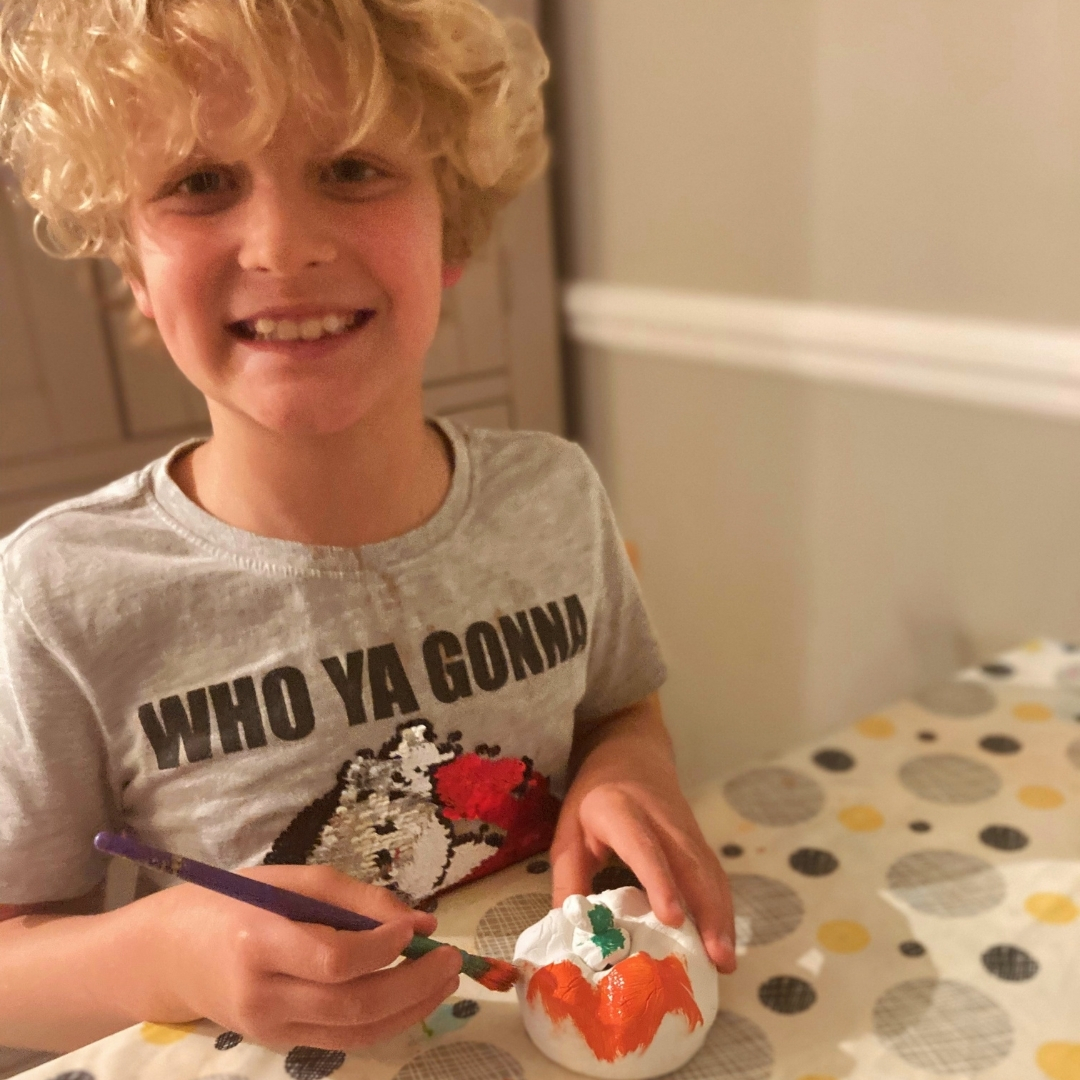
Well the short answer is yes. The process does require you to be quite gentle so maybe not an ideal one for toddlers who tend to be so very heavy handed, but it is quite easy to do so it would definitely make a great half term or halloween activity for the whole family. Even if your child can’t make the halloween pumpkin form itself they can certainly get involved with painting them.
If you don’t fancy crafting for Halloween we have some other great ideas for games that you can play with the whole family
What do you need to make a clay halloween pumpkin?
The main thing you need is clay! I chose to have white clay so that we would have a blank canvas, but you could use coloured polymer clay if you prefer although I will say you will have to work harder to make that malleable.
I recommend air drying white clay to keep it simple. That way once you have made your halloween pumpkin all you need to do it leave it to one side and then paint it if you want. This is the clay that we have used and it works brilliantly
You need a surface to work on that you won’t damage. We just put a chopping board underneath our clay and we used one that didn’t have any texture to it so that it wouldn’t add any pattern to the clay
Additionally you will need a knife to cut pieces of clay and to rough up the edges of the pieces so that they stick together well
A smoothing tool of some description – an old credit card or small ruler would work brilliantly
A thick and rounded handled paintbrush or something similar – you only need the handle not the brush itself
A small bowl of water
Greaseproof paper or non stick foil
Step by Step instructions for making a clay halloween pumpkin:
If you would rather watch it happen than read about how to do it then see the time-lapse video we have put on our Instagram. You should be able to slow these down and pause so that you can see what we did.
- Take a lump of clay and roll it into a ball shape. I went for a small orange size, but you can do it which ever size works for you. Bear in mind that the size you start with will increase as the halloween pumpkin will be hollow
- Cut the ball in half
- Take one half and press your thumb into it. Put the rest of your hand on the outside of the demi sphere and move it around pinching the clay as you go. Keep your fingers together and keep pressing your thumb down each time as you want the top edge of the demi circle to stay thick
- Once your demi circle is at the size you want repeat with the other half
- Once both halves are the same size then score the top of each demi circle and use your finger to rub a little water on one half and gently press the two sides together to make a sphere. The join won’t look pretty, but that is not a problem at this stage

- Use whatever you have selected as your smoothing tool to smooth over the joining edges. Keep doing it until you are sure that you have a really good seal all the way around the sphere. You are trapping air within the form and you don’t want it to burst later on in the process.
- Take a paintbrush and use the curved side to press gently at the centre point on the top of your halloween pumpkin then roll this in a line up and down the pumpkin. Do this gently to start with and then start to use your finger with a little water on it to deepen the line. This is what makes the shape of the halloween pumpkin. You will need to judge how many ‘dents’ to make so that your pumpkin looks like a pumpkin. Don’t worry about the shape being a bit off at the moment you will fix that soon
- Take a little more clay and roll it into a stem shape. You can score the stem shape roughly to make it look textured and then twist. Score the bottom of the stem and the top of the halloween pumpkin shape
- Turn over your pumpkin and make a small hole in the bottom of the halloween pumpkin shape
- Turn it back over and then use a little water to attach the stem you have created onto your pumpkin. Press down gently. This will push out some air through the small hole you have made and allow you to lower the middle of the pumpkin so that it looks the right shape
- If you want to cut a pumpkin face you would do that at this point

- Leave it to dry for as long as a it takes, but for us it has typically taken 3 days and then paint or don’t the choice is yours!



Love this idea#mischiefandmemories@_karendennis
Looks very doable! Thank you for the instructions!
Wow. They look great! #MischiefandMemories
I love this idea, really cool X #mischiefandmemories
The jury’s out – this sounds rather messy if my lot were involved!! #mischiefandmemories
Oh wow! Kirsty…. your clay pumpkins look so good. We’ve got a clay pumpkin, but I’ll thinking this could be such a great activity leading up to Halloween. #mischiefandmemories xx